
Quality shows through paint — flat walls or rippled, proper prep or rushed. Professional skimming across Abbots Langley that delivers surfaces worth the decoration you’ll put on them.
The quote-comparison approach works in theory but creates headaches in practice. Three plasterers, three prices, three availability windows — and you’re still not sure who’ll do the best job. Direct access to one reliable professional solves that.
We’ve taken a simpler route.
One reliable plasterer covers Abbots Langley. When you need skimming done properly, you reach them directly — the same person responds, attends, and completes quality work without platform complications.
Skim coat requirements differ between properties and rooms. Bathrooms following re-tiling need different prep than living rooms after wallpaper removal, and each situation benefits from experienced professional assessment and appropriate technique.
Check through the service details below to see if we’re suited to your job. If yes, reach out — we’ll get back quickly. If no, that’s completely fine — good luck with your project.

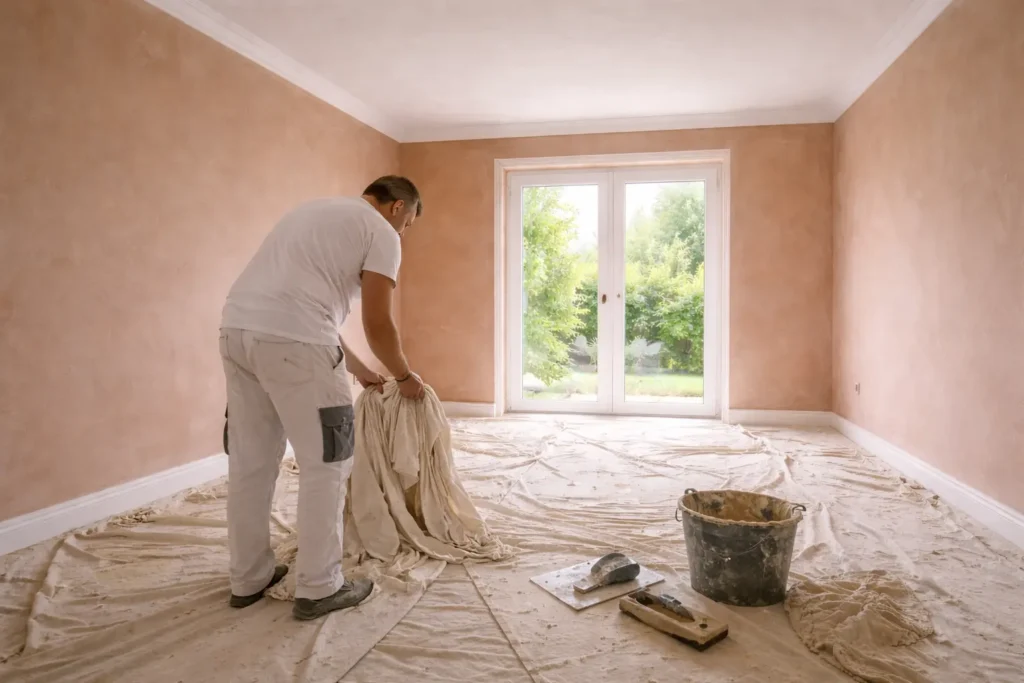
Wall skim plastering creates the blank canvas every decorator dreams of. Lumpy, bumpy, or damaged walls get transformed into perfectly flat surfaces ready for any finish. Professional plasterers assess existing conditions, prepare surfaces correctly, and apply smooth skim coats that hide imperfections completely — delivering the quality foundation that makes decorating straightforward and results impressive.
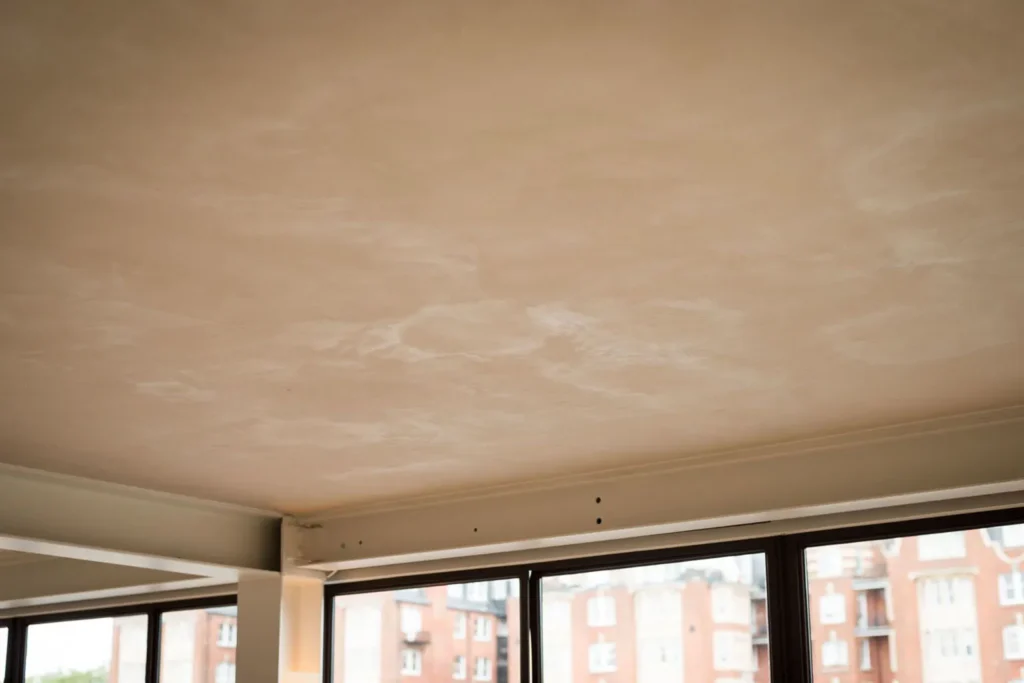
Flawless ceiling plastering requires specialist overhead skills developed through years of professional experience. Textured surfaces, water damage, and dated finishes respond to expert skimming that creates smooth, even ceilings throughout. Proper technique ensures lasting results — no sagging, no cracking, no visible joins — just flat surfaces that transform how rooms look.

Repair skimming handles localised wall damage efficiently without requiring full room re-plastering. Holes from shelving, cracks from movement, and damage from removed tiles all respond to professional patching that blends seamlessly. Skilled tradesmen prepare surfaces properly, apply skim coats that match, and finish so repairs become invisible — targeted fixes that save time and money.
New extension finishing requires quality plastering that transforms raw plasterboard into smooth living spaces. Professional taping, jointing, and skim coating create seamless walls and ceilings throughout your project. Experienced tradesmen work systematically — proper joint preparation, consistent application, clean finishing — delivering results that complete your build to high standards.
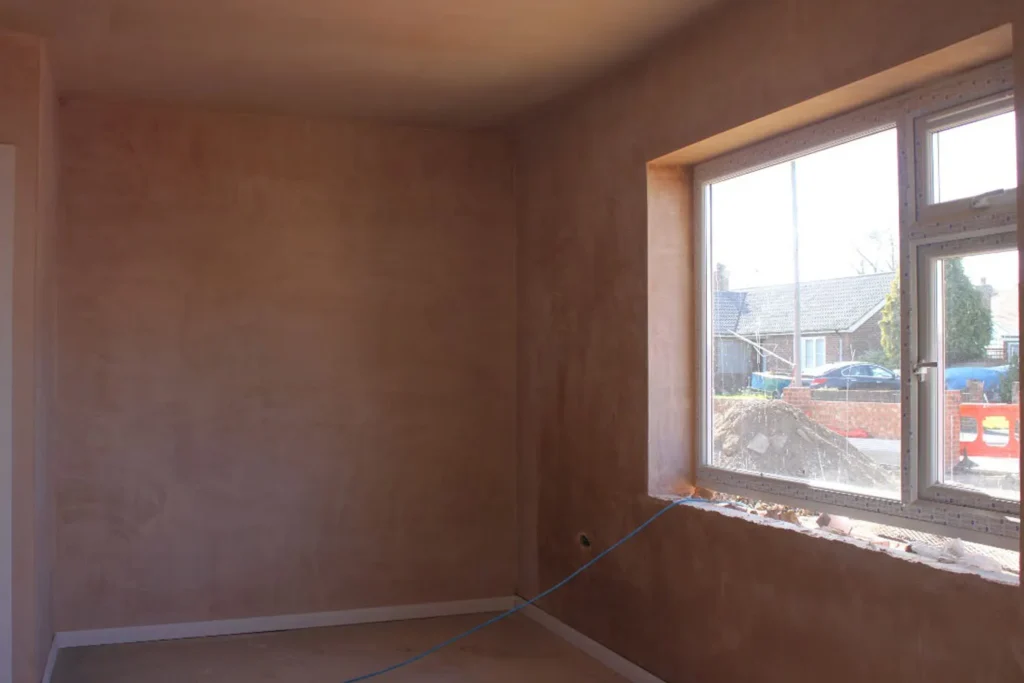
Total room transformation requires full skimming that delivers consistent finishes everywhere. Walls and ceilings get complete professional coverage — no mismatched textures, no visible transitions between old and new work. Experienced plasterers work systematically, creating smooth unified surfaces that make decorating straightforward and results impressive.
Flat ceilings show bad walls. Flat walls show bad ceilings. Here’s why we finish both to the same standard throughout Abbots Langley.
Properties around Manor House Grounds were mostly built pre-war — lime plaster, lath ceilings, solid walls. Near Leavesden Hospital site the fifties estates dominate. Toward High Street it’s newer construction. Each era across Abbots Langley needs different preparation approaches.
Extension walls joining original walls, old ceilings meeting new plasterboard, repairs that must disappear into existing finishes — transitions need careful handling. Seamless results across Abbots Langley come from managing where different surfaces meet.
Abbots Langley housing runs mostly semi-detached houses and detached houses, ceilings around 2.4m to 2.7m (7.9ft – 8.9ft). Those property types share characteristics — similar wall construction, common problem areas, predictable preparation needs. Experience on this specific stock makes assessment faster and more accurate.
Calls and forms go straight to your area’s tradesman — no filtering through people who’ve never held a trowel. You get honest conversation about wall types, preparation needs, and what quality skimming actually requires.
First conversation focuses on understanding your walls — what’s on them now, what finish you’re after, how many rooms need attention. Based on that, assessment gets arranged at a time that suits. No pressure, no commitment until you’ve had surfaces checked properly and received clear pricing.
Assessment means properly reading your walls — tapping for hollow sections, checking suction rates, identifying previous repairs, spotting potential problems. The plasterer explains what preparation’s needed and why. You get clear pricing based on actual surface condition, not guesswork from photos.
Jobs follow proper sequence — prep work, plaster application, finishing technique. Dust sheets go down for surrounding areas. Comprehensive cleanup occurs after completion. You receive practical information about drying requirements, mist coats, and decoration readiness.
Skimming questions tend to follow patterns — how’s it done, how long’s it take, when can I decorate. Clear answers below, nothing complicated.
Timing depends on room size, surface condition, and preparation needs. A standard bedroom with sound walls typically takes one day — preparation morning, first coat midday, second coat afternoon. Rooms needing extensive prep work or multiple problem areas take longer. Ceilings add time. You’ll get accurate duration estimates after wall assessment.
It varies with condition. Sound plaster that’s firmly attached receives skim over existing surfaces. Blown areas need removing. Multiple previous coats might require stripping. Assessment determines what preparation your walls specifically require.
Skim finishing creates smooth walls using thin coats — 2-3mm typically — over existing surfaces. Plastering encompasses heavier applications: base coats on masonry, render work, depth building. Most domestic re-finishing involves skimming existing plaster rather than full replastering.
Some can, some can’t — paint type determines approach. Light matt emulsion over sound plaster receives skim after keying. Gloss, silk, or heavy paint coatings create bonding issues — often needing stripping or specialist preparation. Assessment reveals requirements.
Allow adequate drying time — 2-4 days for surface readiness, 2-3 weeks for complete curing. Apply mist coat first with diluted matt emulsion before proper painting. Rushing decoration causes paint failures on new plaster.
Fill out the form or call now to speak directly to the plasterer covering your area. No call centres, no delays – just clear answers and fast action.
Your details are safe – we only use them to respond to your enquiry
Skimming work covers the complete Abbots Langley region. Local understanding of property construction, typical plaster conditions, and preparation methods that suit these specific housing types.